1
Safety and Included Brackets
The skid plates can be installed on the ground, but if you do decide to jack up your truck to get more room for the install ALWAYS use jack stands. Never go underneath your truck on jacks alone.
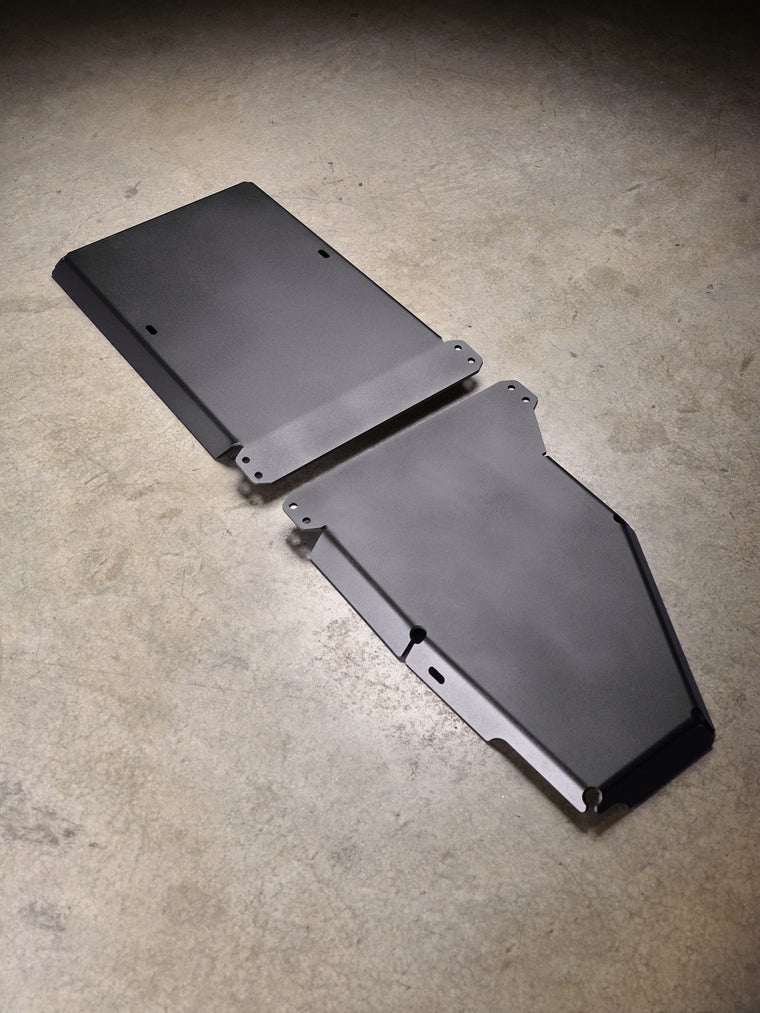
The skid plates come with (4) different steel mounting brackets that bolt into the factory gas tank mounting locations. All (4) of the brackets are different and have a specific location as marked below:


